Sweet, creamy, and decadently thick! 🍦 Condensed milk is the ultimate secret ingredient for silky fudge and perfect iced coffee ☕.
Do you need a store-bought can? Think again! 🍯 It is incredibly easy to learn how to make condensed milk at home naturally. 🌿
I rarely buy condensed milk from the market. For my home desserts, I always make it myself. A few days before bake day, the milk goes on the stove and the magic begins.
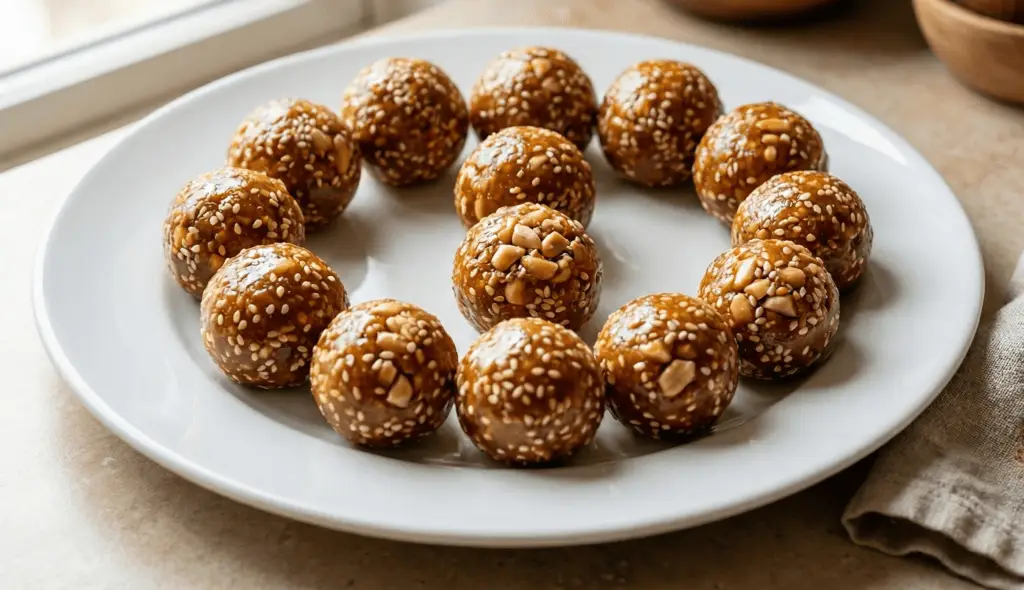
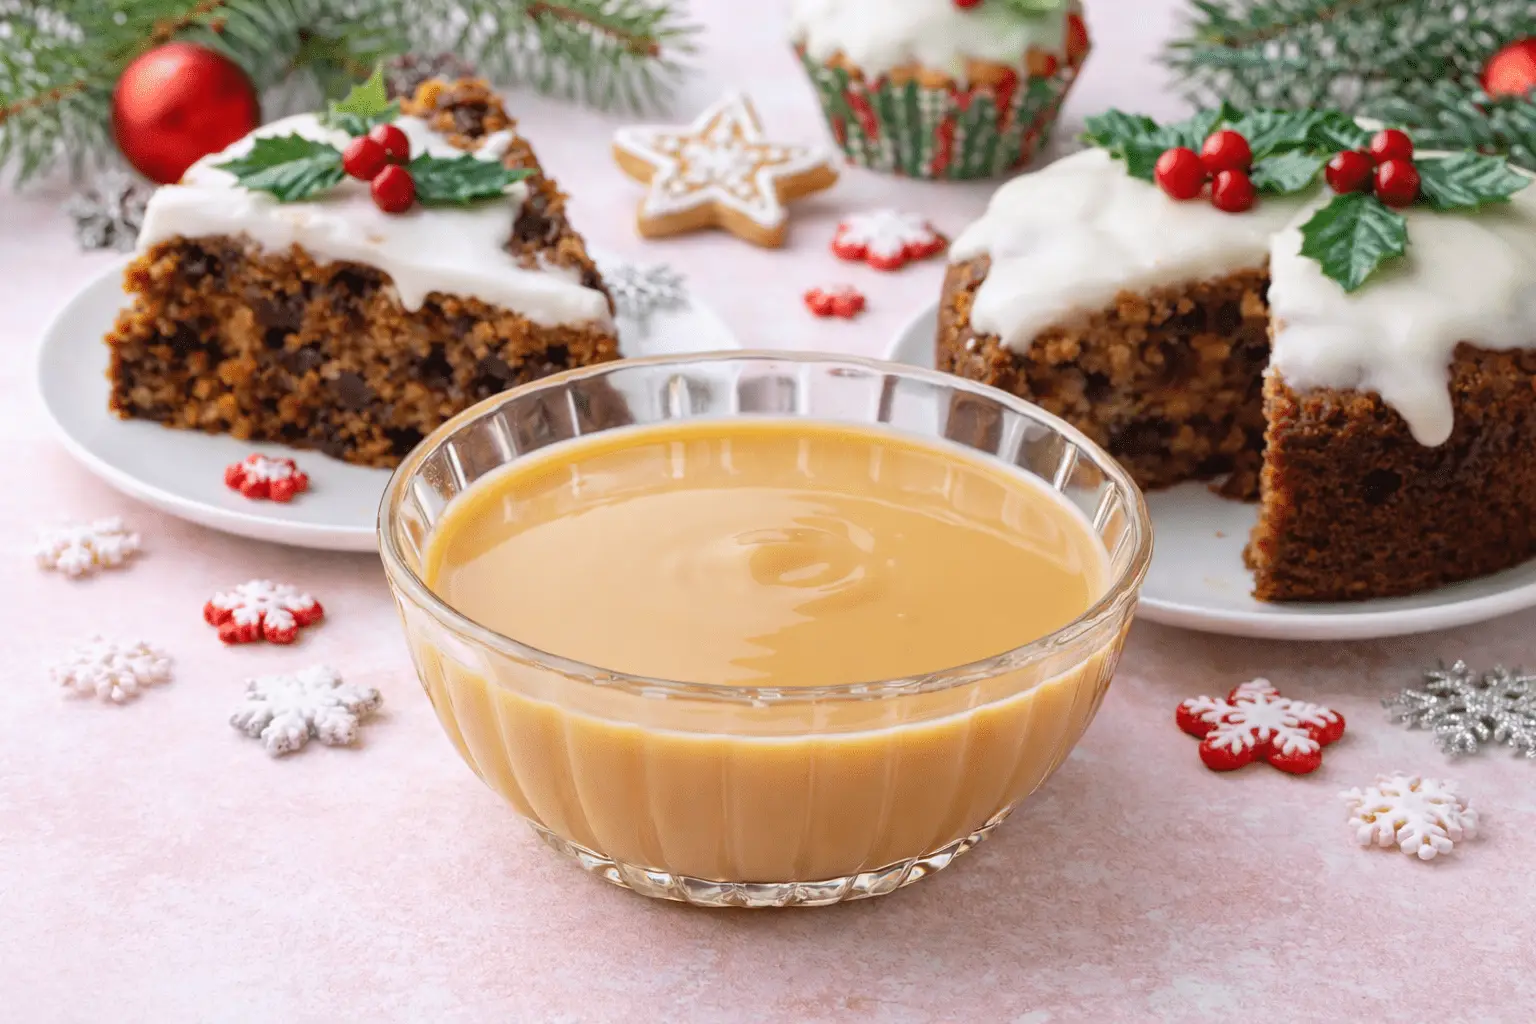
For traditional Indian sweets during Durga Puja and Diwali, I love the slow simmer method. It’s calm, nostalgic, and gives that deep, classic richness. But when it’s time for Christmas cakes, I switch gears. I use my 1-minute quick hack for an extra creamy, fuss-free finish.
Over the years, these little kitchen habits have become my secret.
You only need a few basic ingredients. 🥛 Plus, you can whip it up in just minutes! These simple techniques are total game-changers 🧁. No preservatives. No complicated steps. Just pure, velvety goodness 🍰.
So, skip the grocery run and level up your dessert game today 🍦!
In this post, I share 4 easy recipes to make condensed milk at home using simple ingredients. You’ll also find a quick 1-minute recipe, perfect for busy days and instant results.
Read the full post to explore all the techniques and pick what suits you best.
How to Make Condensed Milk at Home
Recipe 1 – Slow Simmer Method
The Slow Simmer Method is the easiest method to make condensed milk at home naturally. It takes a little patience, but the result – a deep, caramelized flavor that store-bought cans just can’t match. 🍯
Use a thick-bottom saucepan with wide surface for quick evaporation.
Yield: Approx. 1 cup
Servings
minutes
Preparing Time
1 minutes
Cooking Time
30 minutes
Calories
kcal
INGREDIENTS
Full-cream Or Whole Milk – 3 Cups
Sugar – 1 Cup
Salt – 1 pinch
DIRECTION
- Combine and Dissolve
Add the milk and sugar (and salt, if using) to your saucepan. Place it over medium-low heat. Stir constantly with a spatula to dissolve the sugar granules of sugar at the bottom.
- Bring to a Low Simmer
Once the sugar is fully dissolved, increase the heat slightly to bring the mixture to a very gentle simmer. Look for “lazy bubbles”—tiny bubbles breaking the surface around the edges—not a rolling boil.
- The Slow Simmer (20-30 Minutes)
Once the simmer is established, turn the heat down to low.
Do Not Whisk: Avoid vigorous whisking once it starts simmering. It causes the sugar to crystallize and make the milk grainy.
Occasional Scrape: Scrape the residues on the side every few minutes. Run the spatula across the bottom and sides of the pan. Else the milk scorches and forms a skin to a rabri-like texture.
Skim the Foam: If you see any gray/ white foam (scum) at the top, use a spoon to gently skim it off. - Check for Reduction
The milk is ready when it has reduced by half in volume.
Visual Cues: The color will shift from bright white to a pale creamy ivory or light tan. The consistency should resemble maple syrup.
The Spoon Test: Coat the back of a spoon with the liquid and run your finger through it; the path should stay clean and not run. - Strain and Cool
For a professional, ultra-smooth finish, pour the hot milk through a fine-mesh strainer into a glass jar. This catches any tiny bits of cooked milk or sugar crystals.
NOTES
The homemade condensed milk looks thin while hot. It gradually thicken into a classic “gloopy” consistency—as it chills.
Recipe 2 – Instant Condensed Milk Preparation Method
This “hack” is a total game-changer. If you’ve ever run out of canned condensed milk mid-recipe, this version can help. The consistency is super-creamy, smooth, and tastes exactly like the store-bought stuff but takes only 60 seconds of actual work.
The secret is using boiling water to instantly dissolve the sugar and “cook” the milk powder into a silky syrup. I like mixing a spoonful of caramelized sugar syrup to the consistency for a dark tone.

Servings
minutes
Preparing Time
1 minutes
Cooking Time
minutes
Calories
kcal
INGREDIENTS
1 cup Non-fat dry milk powder
2/3 cup White granulated sugar
1/3 cup Boiling water (must be bubbling hot!)
3 tbsp Butter (melted or softened)
1 tsp Vanilla extract (optional)
DIRECTION
- Get the Blender Jar Ready
Pour the boiling water into your blender first. Adding the liquid first prevents the dry powder from sticking to the bottom.
- Add Solids
Put the butter and sugar to allow faster melting in hot water.
- Pour the Milk Powder
Spread the milk powder on top for the liquid mixes to soak and soften the dry ingredient.
- The Blitz
Secure the lid tightly (hold it down with a towel since the liquid is hot!). Pulse a few times, then blend on high for 30–60 seconds until completely smooth.
- Store the Condensed Milk in a Glass Jar
The mixture is thin while it’s hot. Pour it into a glass jar and put to rest for cooling. It thickens significantly into that classic “glaze” consistency as it reaches room temperature.
NOTES
Storage: Preserve the homemade condensed milk in an airtight jar in the fridge for up to two weeks.
Consistency: If it feels too thick after chilling, stir in a teaspoon of warm water. If it’s too thin, add a tablespoon more of milk powder and pulse again.
Recipe 3 – Fast Cooking Method

Servings
minutes
Preparing Time
5 minutes
Cooking Time
30 minutes
Calories
120 kcal
INGREDIENTS
Whole Milk (Full-fat Milk) – 2 cups
Sugar (granulated) – 2/3 cup
Corn Flour – 1 tbsp
Cold Milk (for slurry) – 1 tbsp
Baking Soda – 1 pinch
Vanilla Extract – 1/2 tsp (optional)
DIRECTION
- Mix and Heat the Milk with Sugar
In a saucepan, combine the 2 cups of milk and sugar. Heat over medium and avoid boiling until the sugar melts completely. Milk releases the steam gradually (don’t let it reach a rolling boil yet).
- Make a Smooth Milky Slurry
Mix the corn flour with 1 tbsp of cold milk to form a smooth paste without any lumps.
- Add the Corn Flour Slurry to the Hot Milk
Slowly pour the slurry into the hot milk while whisking constantly. Stir continuously at a low heat to prevent burning a the base or forming lumps.
- Simmer on Low Heat
Simmer on a low heat while stirring the milk with a spatula. The milk should not stick to the sides or bottom of the pan. Cook until the milk turns thick to form a layer on the spatula.
- Remove from Heat & Add the Remaining Ingredients
After removing the pan from the oven, add the baking soda and vanilla extract. Stir the dense liquid constantly to form air bubbles
- Cool Down and Refrigerate
The hot instant pot condensed milk looks creamy when hot. But it thickens further upon cooling. Store it in the refrigerator for future use in an airtight jar.
NOTES
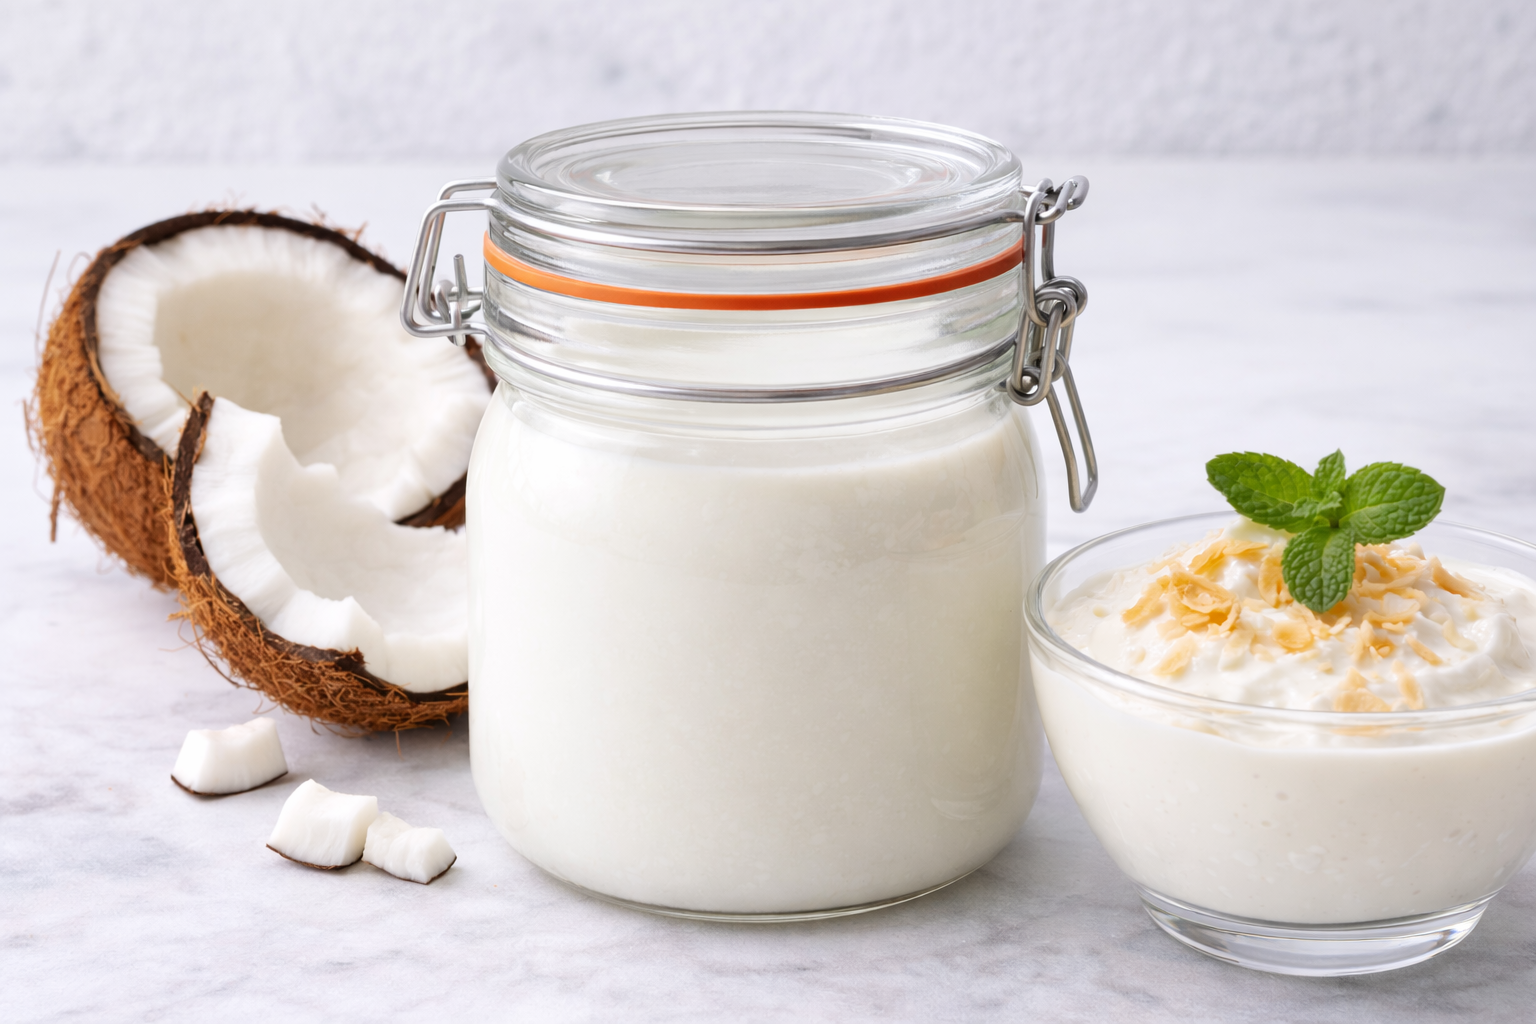
Recipe 4 – Coconut Milk (Vegan Edition)
Struggling to find a dairy-free option for your favorite holiday recipes? This DIY Coconut Condensed Milk is the 1:1 replacement you’ve been looking for. It’s naturally gluten-free, vegan, and far more flavorful than anything you’ll find in a tin. Learn how to transform a simple can of coconut milk into a thick, sweet syrup in under 45 minutes.
Servings
minutes
Preparing Time
1 minutes
Cooking Time
30 minutes
Calories
120 kcal
INGREDIENTS
Full-fat coconut milk – 400 ml
Sweetener (Sugar/ Maple Syrup) – 1/4 Cup
DIRECTION
- Mix Coconut Milk and Sweetener
Take both the ingredients in a thick-bottom pan. Stir well until the sweetener dissolves into the liquid.
- Simmer the Sweetened Coconut Milk
Heat the ingredients on a medium flame while stirring occasionally. Do not boil at a high temperature or leave the pan unattended. The coconut milk can stick to the base and burn.
- Reduce the Coconut Milk to Half
Do not boil the milk on a high temperature. Reduce the consistency at a low temperature for about 20-30 minutes to get smooth, thick texture.
- Test the Thickness and Consistency
The condensed coconut milk is ready when the texture is dense and glossy. You can test the thickness of the syrup with a spoon. Dip the spoon in the dense hot coconut milk. The milk is ready if it coats the back of the spoon.
NOTES
Store in a glass jar in the fridge for up to 1 week. If it gets too firm in the fridge, let it sit at room temperature for a few minutes before using.
For extra flavor, stir in a splash of vanilla extract once you remove it from the heat.
Condensed Milk FAQs
The Secret Ingredient Behind Better Home Baking Revealed
From the slow, traditional method to the quick 1-minute hack, homemade condensed milk awesome taste to your Indian sweets.
Each method in this guide is tested and reliable. Choose what fits your time and dessert plan. For more festive baking and sweet recipes, explore the dessert and sweets section on easygoodfood.in.
This guide covers four easy ways to make homemade condensed milk. From slow simmering to a quick 1-minute method, these recipes help home cooks choose the best option for their needs.